Lazy Susan Repair Timing Tips
Lazy Susan repairs are best performed when signs of wear or damage become evident. Addressing issues promptly can prevent further deterioration and maintain smooth operation. Regular inspections can help identify early problems such as wobbling, sticking, or uneven rotation.
Wobbly movement, sticking, or unusual noises indicate the need for repairs. Addressing these issues early can extend the lifespan of the Lazy Susan.
Periodic checks every 6-12 months help identify potential problems before they escalate, ensuring optimal functionality.
Damage from impacts or spills should be repaired promptly to prevent further issues and maintain safety.
Preparing Lazy Susan components before hosting events or heavy usage periods can improve performance and reduce disruptions.
Close-up of a Lazy Susan showing signs of bearing wear, indicating the need for repair.

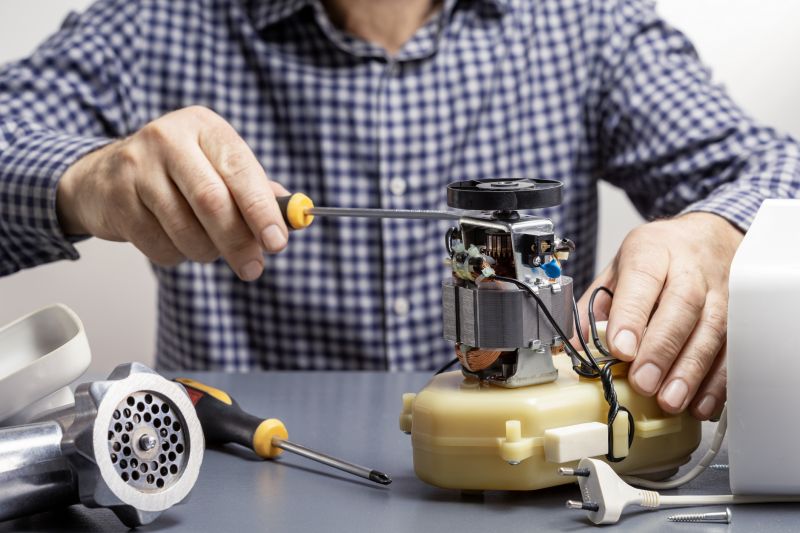
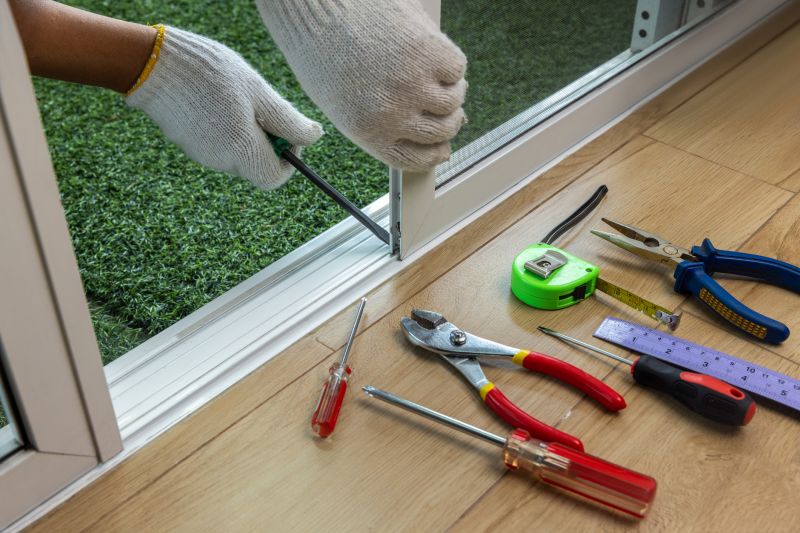
A technician inspecting a Lazy Susan for signs of damage or wear.
Corrosion on metal parts suggests repair or replacement is necessary to ensure smooth rotation.

Ways to make Lazy Susan Repairs work in tight or awkward layouts.
Popular materials for Lazy Susan Repairs and why they hold up over time.

Simple add-ons that improve Lazy Susan Repairs without blowing the budget.

High-end options that actually feel worth it for Lazy Susan Repairs.

Finishes and colors that play nicely with Lazy Susan Repairs.
Lazy Susan repairs involve replacing worn bearings, fixing wobbling issues, and restoring smooth rotation. Proper maintenance can significantly extend the lifespan of these rotating trays. Statistics show that regular inspections and timely repairs can reduce operational disruptions by up to 40%. Addressing minor issues early prevents costly replacements and maintains the aesthetic appeal of the furniture.
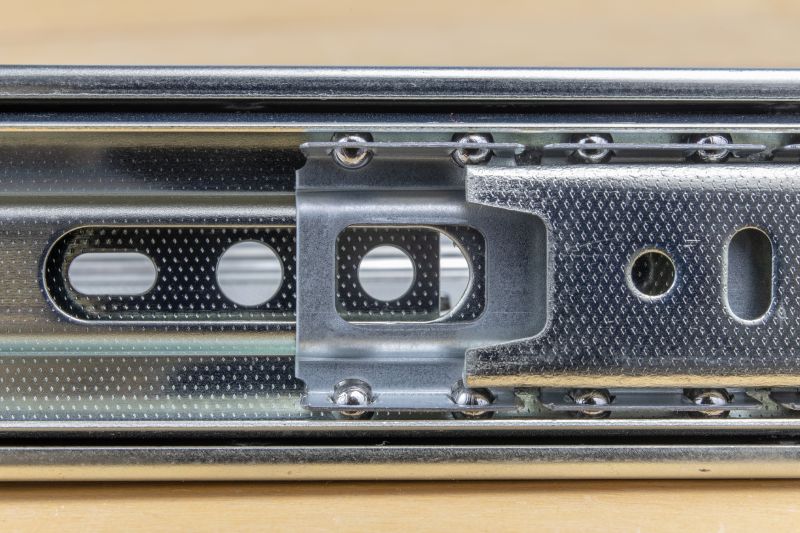
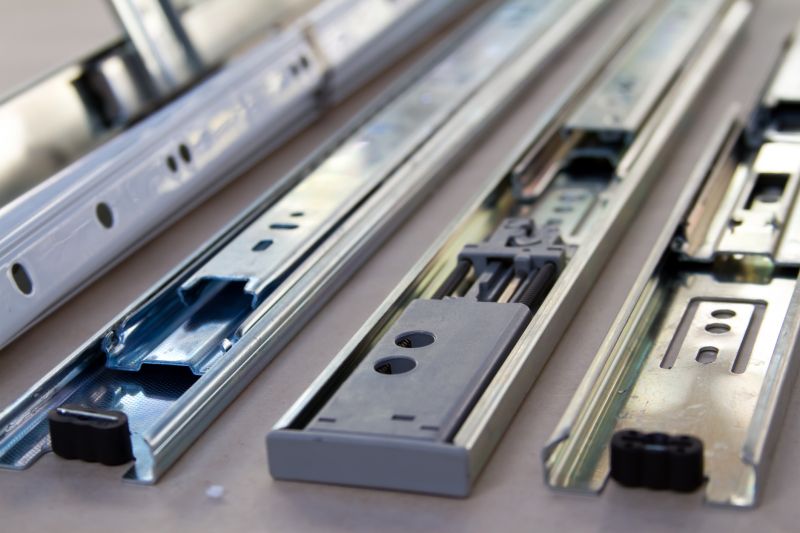
Components being prepared for repair or replacement.
Applying lubricant to ensure smooth movement after repairs.

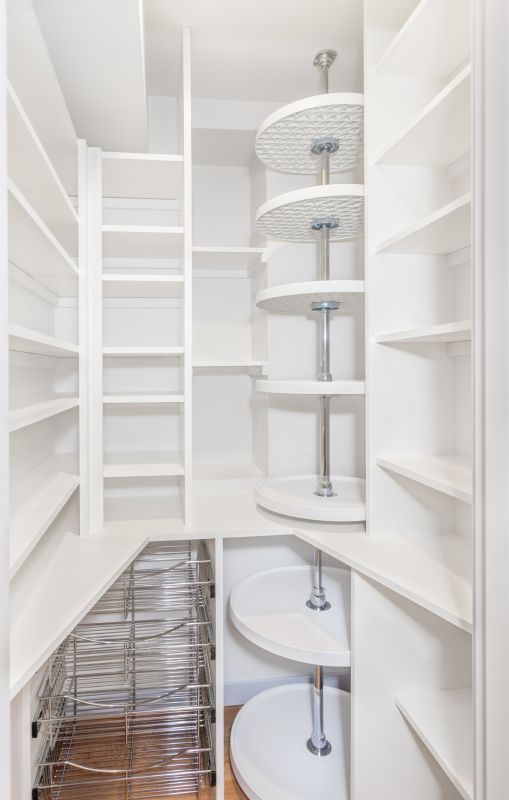
A fully restored Lazy Susan ready for use.

Cleaning corrosion from metal parts before reassembly.

Little measurements that prevent headaches on Lazy Susan Repairs day.

A 60-second routine that keeps Lazy Susan Repairs looking new.
A frequent mistake in Lazy Susan Repairs and how to dodge it.

Small tweaks to make Lazy Susan Repairs safer and easier to use.
| Repair Timing | Details |
|---|---|
| Signs of Wobbling | Indicates worn bearings or loose fittings that need attention. |
| Unusual Noises | Suggests internal damage or debris requiring cleaning or replacement. |
| Corrosion or Rust | Requires immediate repair to prevent further deterioration. |
| Regular Maintenance Schedule | Every 6-12 months for optimal performance. |
| Post-Damage Inspection | After impacts or spills to assess for repairs. |
| Before Heavy Usage | Prior to hosting events or seasonal gatherings. |
| Component Replacement | When parts are beyond repair or severely corroded. |
| Operational Disruptions | Address promptly to minimize downtime. |
Timely Lazy Susan repairs can prevent ongoing damage and ensure smooth operation. Regular maintenance, especially before periods of heavy use or after noticing signs of wear, helps maintain functionality and appearance. Addressing issues early also minimizes repair costs and prolongs the lifespan of the rotating mechanism.
Interested in scheduling Lazy Susan repairs? Filling out the contact form can provide more information and help coordinate timely maintenance to keep the rotating tray functioning properly.